


In this tutorial we will teach how to create fruits wallpaper.
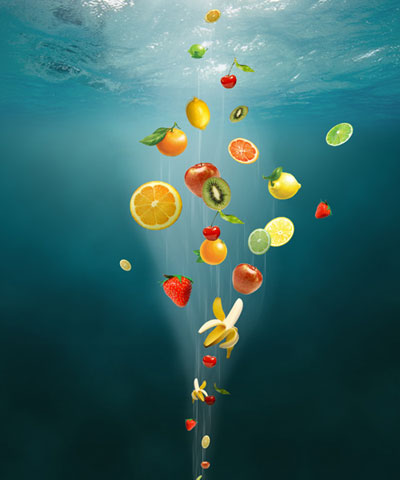
Final Image Preview

Create a new file (File>New) with 1280×1024 px and 300 dpi. After that we have to select the Rectangle Tool (U) and use it for stretching out the color on the whole page.
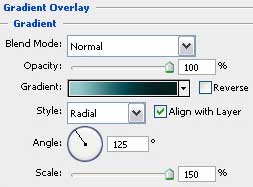
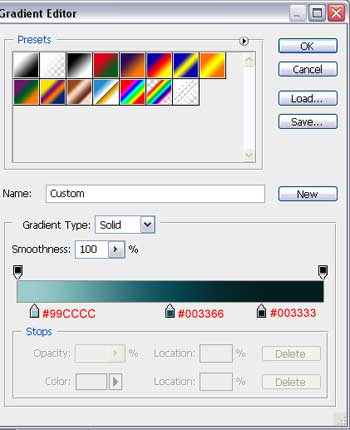
Select now the Blending Options>Gradient Overlay
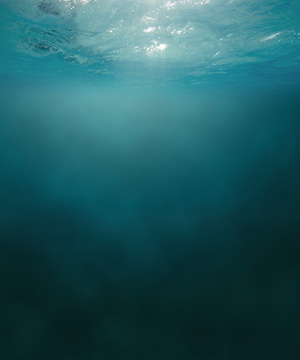
This is the picture we should get. It should represent scenery under the water.

Create a new layer and paint it out with the Paint Bucket Tool (G) with the color’s code shown here: #003366

Select on the layer the next options: Filter>Render>Clouds.

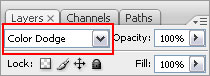
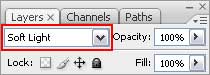
Set the parameters for the layers’ palette the way it is indicated next small table:
It’s what we’ve got:

Next we have to choose on the lowest layers’ palette the mask’s option:
 Choose the mask itself:

And next apply the Gradient Tool (G) to draw the gradient on the layer. The top part of the layer became transparent as you may see on the picture below:

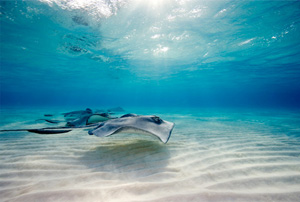
Next step includes finding in Internet an underwater scenery, as next picture shows it:
Using the Eraser Tool (E), we may cut out all the unnecessary elements, except the water’s surface.
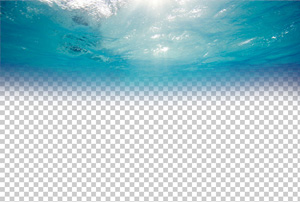
Move this picture on our picture and place it on the top part of the original one.
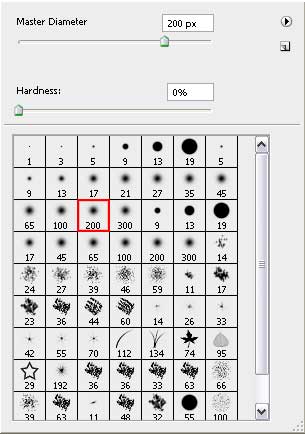
Select after that the Brush Tool (B) with the color #669999 and the Opacity of 10%. The brush’s adjustments should be those indicated below:
Try to represent next a kind of hazy mist:
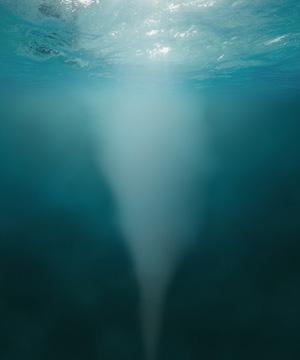
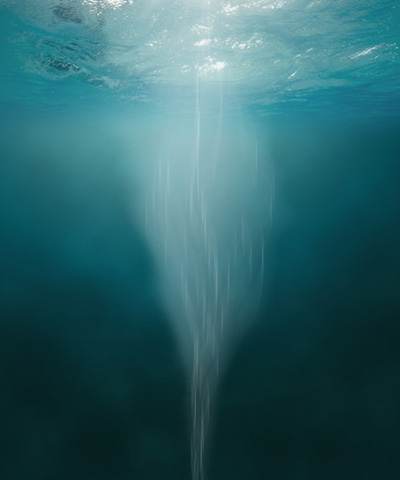
Create a new layer and apply on it the Pencil Tool (B) for drawing several lines, resembling the whirlwind. The color is still the same.
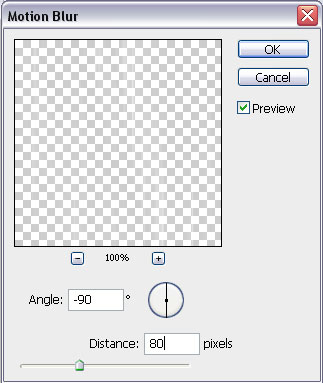
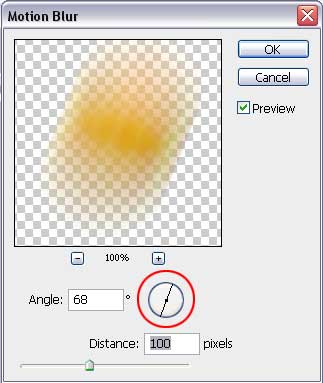
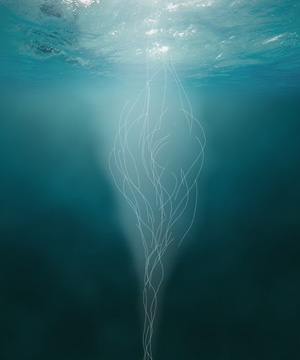 Enter the next options, Filter>Blur>Motion blur… and set them as the table indicates it:
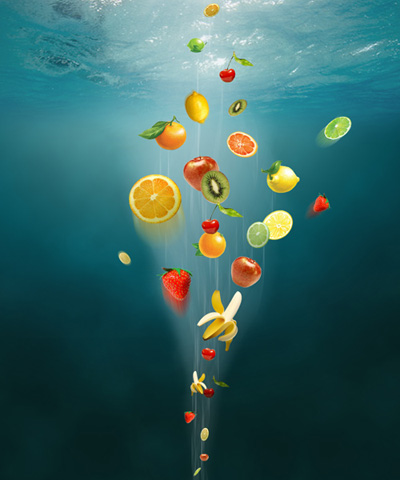
We should get such a waterspout.
Find in Internet several pictures containing the fruits. If the background happens to be white one, then we’ll need the Magic Wand Tool (W) for cutting it out. If the background is colored one, then we’ll need the Eraser Tool (E).

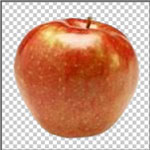
After cutting out the fruits from their background, we have to insert the fruits on out picture and place them in an arbitrary way.
Make several copies of some fruits and apply the next shown options on the copied layer: Filter>Blur>Motion blur. The blurring directions should be set according to the fruit’s placement.
The top part of the blurred copy should be erased with the Eraser Tool (E) for showing the object’s motion.
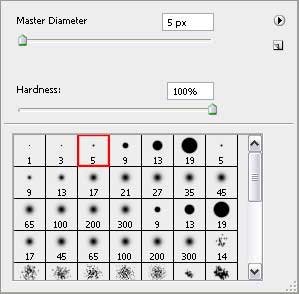
Create one more layer now and select the Brush Tool (B) with the color #669999 and then try to draw the air bubbles on our picture, changing if necessary the Master Diameter.
 It’s what we should get:
Add the FRESH inscription on the upper part of the picture, but be attentive with the text’s demands. Use only those indicated in the next table:

Apply the next shown parameters for the layers’ palette.
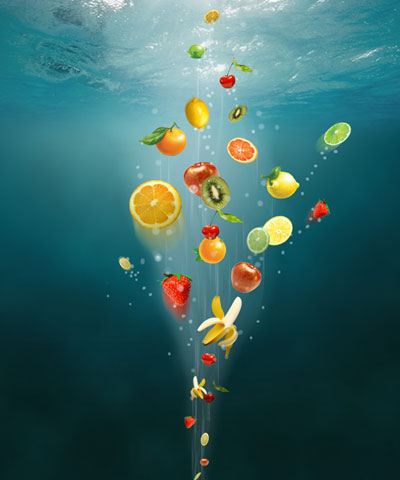
The picture is finished!