


In this Photoshop tutorial you will learn a neat grungy photo effect using a variety of Photoshop brushes and image adjustments.
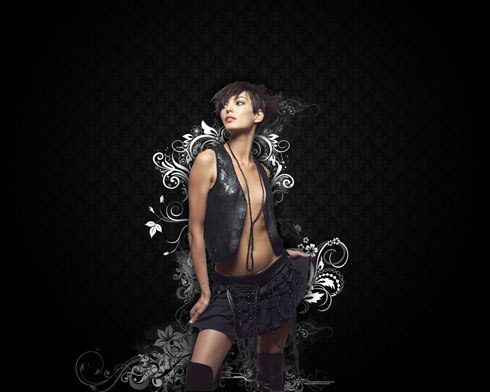
Final Image Preview

Begin by creating a new file of 1280×1024px/72dpi which must be fill with the Paint Bucket Tool (G) to give the background layer black color.

Continue representing the background by using the next demonstrated pattern:

Edit>Define Pattern
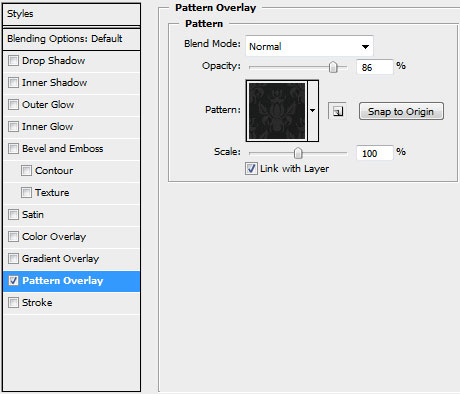
Then we’ll create a new layer and set for it the next shown styles by making a mouse click on this layer on the layers’ panel:
Blending Options>Pattern Overlay (choose here the earlier saved texture)

Make darker the picture’s edges by using the Rectangle Tool (U).
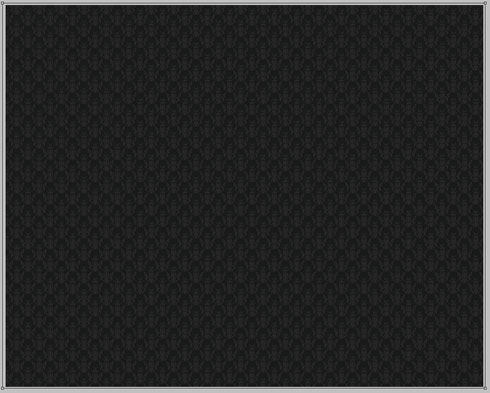
The layer’s styles: Fill 0%, Blending Options>Gradient Overlay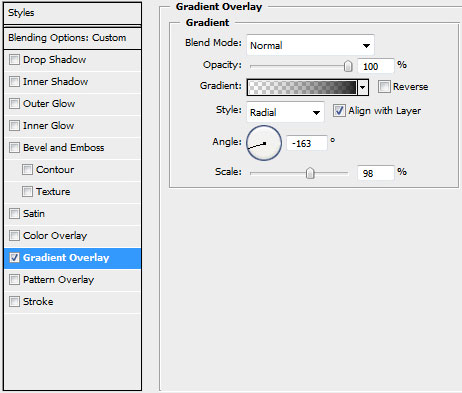
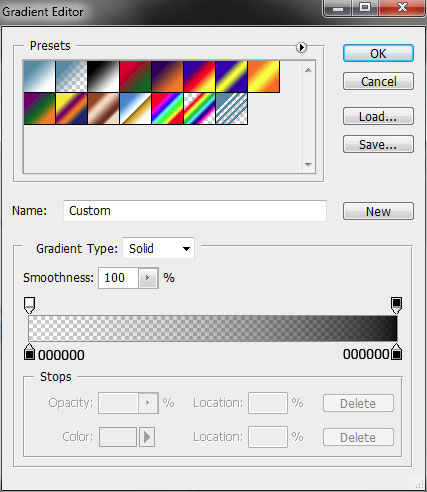
Gradient Editor:

Find a stock photo with a model represented on it, I used this photo from deviantart. I would like to thank the author of this photo :
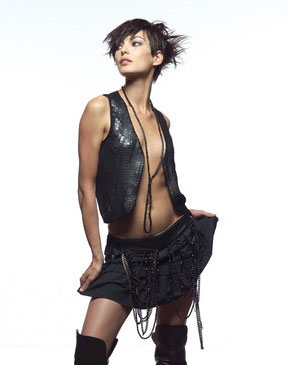
Cut the model and insert it on new layer:
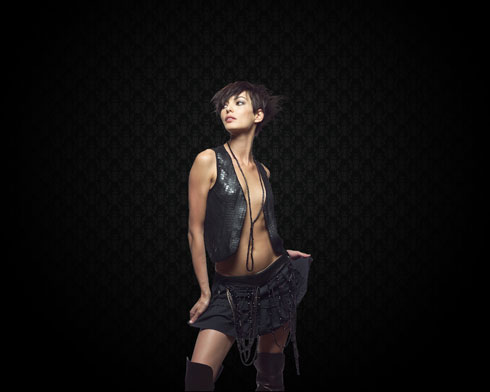
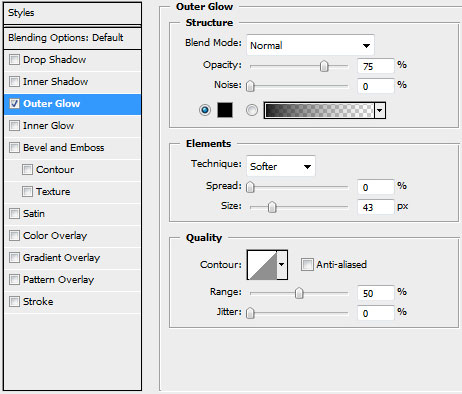
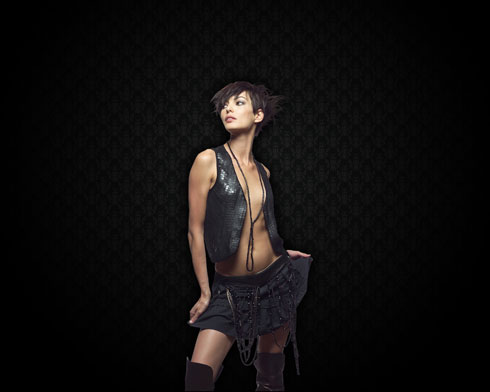
Set the next demonstrated styles for the girl’s layer: Blending Options>Outer Glow
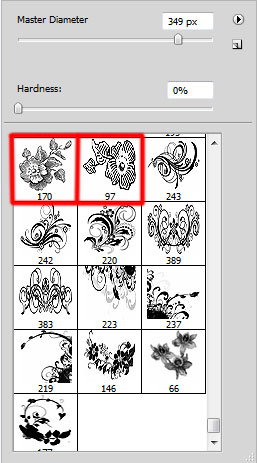
Download several sets of ready to use brushes for Adobe Photoshop, named Vector_Flower_Brushes_by_Yasny_chan, Japanese_Foliage, Foliage_VOL_2_brushes_set_by_solenero73. Create a new layer and use here the brushes out of the set Vector_Flower_Brushes_by_Yasny_chan.
They have white color and Opacity of 50%. The layer containing the brushes should be placed lower than the girl’s layer (on the layers’ panel).

Select the next indicated styles for the brushes’ layer: Blending Options>Inner Glow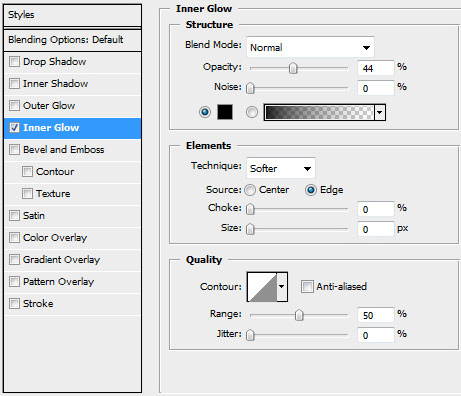
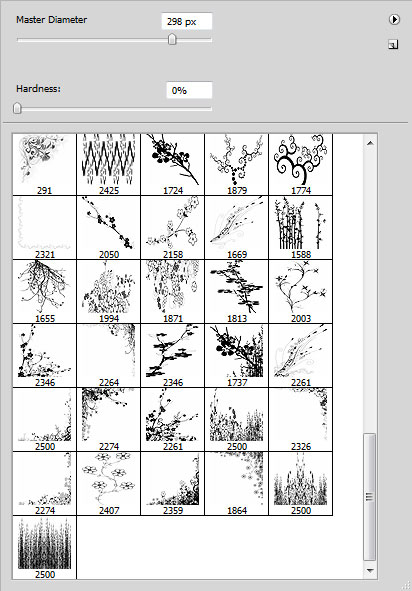
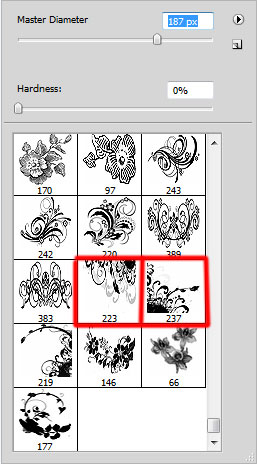
 On the next new layer we’ll choose the brushes out of the set, named Japanese_Foliage, the brushes having white color. This layer should be placed also lower than the girl’s layer, but above the previous layer containing the brushes:
Set the next indicated styles for the last created layer: Blending Options>Inner Glow
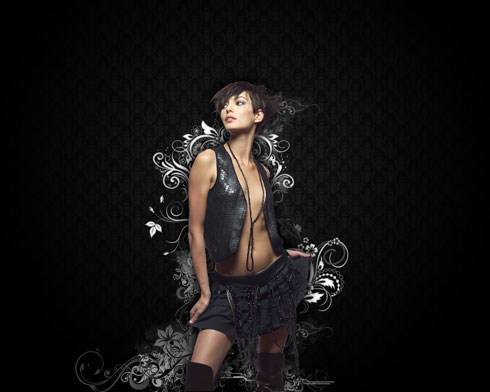
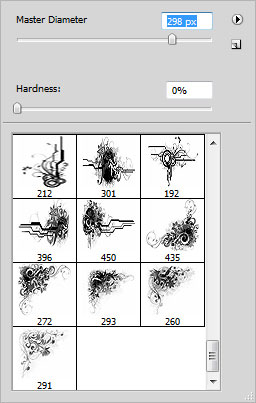
On the next new layer (Create new layer) we’ll select the brushes out of the set entitled Foliage_VOL_2_brushes_set_by_solenero73. The brushes have white color.
Next we’ll create a new layer and use here the brushes out of the above mentioned set (Foliage_VOL_2_brushes_set_by_solenero73). The brushes have the next indicated colors: #666666 and the white one:

Insert one more ornament, choosing one more brush out of the set Foliage_VOL_2_brushes_set_by_solenero73.
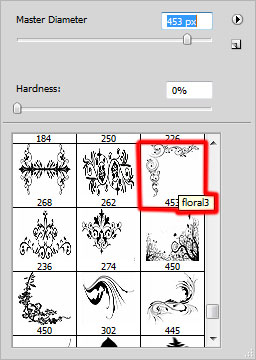
The brush has white color:

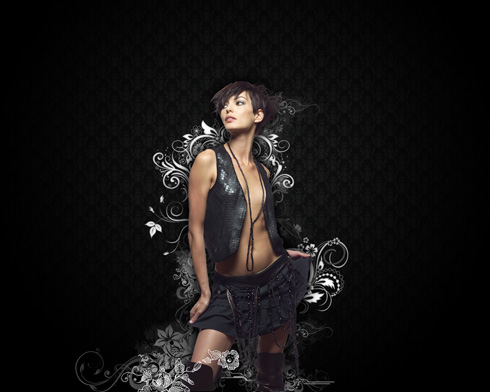
Make a mouse click on the bottom part of the layers’ panel on the next selection: Create new fill or adjustment layer > Black&White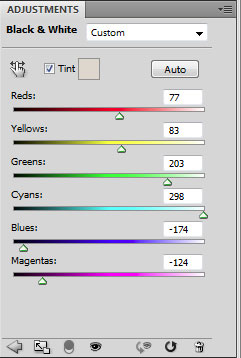

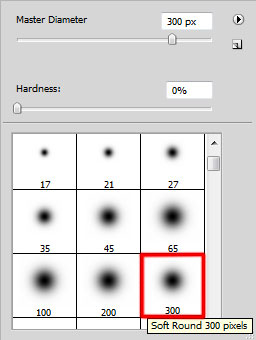
On the next new layer we’ll apply a standard brush of black color with the Opacity of 30% to obscure a little the ornament’s zone and the girl’s one:
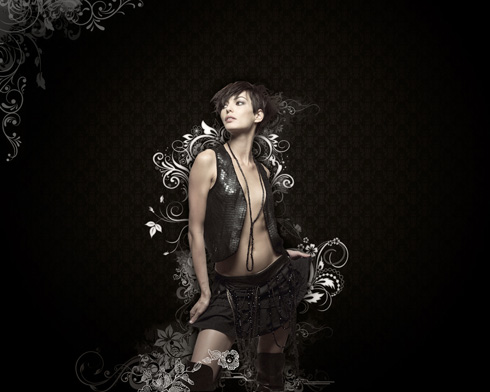
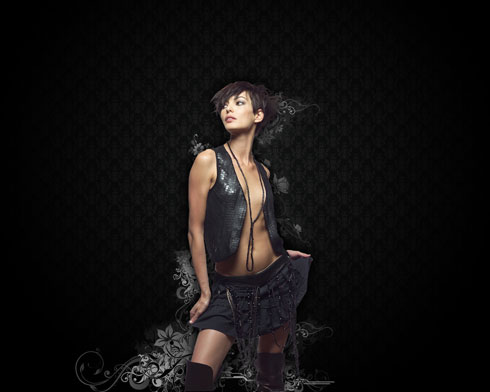
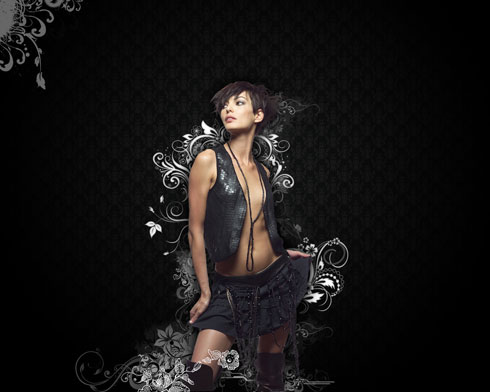
The final result!